预计阅读时间:7 分钟
Hadoop 框架使用 Java 开发的,对 Java 进行了原生的支持,不过对于其它语言也提供了 API 支持,如 Python 、 C++ 、 Perl 、 Ruby 等。这个工具就是 Hadoop Streaming ,顾名思义, Streaming 就是 Pipe 操作,说起 pipe ,大家肯定不陌生。最原生的 Python 支持是需要 Jython 支持的,不过这里有额外的方法来实现,大家如果只是使用的话,不用纠结 Jython 转换的问题。
最容易的 Hadoop 编程模型就是 Mapper 和 Reducer 的编写,这种编程模型大大降低了我们对于并发、同步、容错、一致性的要求,你只要编写好自己的业务逻辑,就可以提交任务。然后喝杯茶,结果就出来了,前提是你的业务逻辑没有错误。
使用 Hadoop Streaming ,能够利用 Pipe 模型,而使用 Python 的巧妙之处在于处理输入输出的数据使用的是 STDIN 和 STDOUT ,然后 Hadoop Streaming 会接管一切,转化成 MapReduce 模型。
我们还是使用 wordcount 例子,具体内容不再详细解释,如果有不理解的可以自行度之。下面我们先看下 mapper 的代码:
#!/usr/bin/env python

import sys
#input comes from STDIN (standard input)
for line in sys.stdin:
    # remove leading and trailing whitespace
    line = line.strip()
    # split the line into words
    words = line.split()
    # increase counters
    for word in words:
        # write the results to STDOUT (standard output);
        # what we output here will be the input for the
        # Reduce step, i.e. the input for reducer.py
        # tab-delimited; the trivial word count is 1
        print '%s\t%s' % (word, 1)
简单解释一下,输入从 sys.stdin 进入,然后进行分割操作,对于每行的分割结果,打印出 word 和 count=1 , Mapper 就这么简单。 大家看完 Mapper 之后,会产生疑问,这个怎么能够实现 mapper 功能?我们跳出这个 sys.stdin 模型,再回顾下 MapReduce 的程序。在 Mapper 中,程序不关心你怎么输入,只关心你的输出,这个 Mapper 代码会被放到各个 slave 机器上,去执行 Mapper 过程,其实可以理解为过滤、处理。 在示例中,程序的输入会被进行一系列的处理过程,得到 word 和 count ,这个就是 slave 机器上的数据处理之后的内容。仔细理解下这个过程,对于开发程序还是相当有帮助的。
下面我们来看下 Reduce 程序, wordcount 的 reduce 程序就是统计相同 word 的 count 数目,然后再输出。我们还是直接上代码吧:
#!/usr/bin/env python
from operator import itemgetter
import sys

current_word = None
current_count = 0
word = None
# input comes from STDIN
for line in sys.stdin:
    # remove leading and trailing whitespace
    line = line.strip()
    # parse the input we got from mapper.py
    word, count = line.split('\t', 1)
    # convert count (currently a string) to int
    try:
        count = int(count)
    except ValueError:
        # count was not a number, so silently
        # ignore/discard this line
        continue
    # this IF-switch only works because Hadoop sorts map output
    # by key (here: word) before it is passed to the reducer
    if current_word == word:
        current_count += count
    else:
        if current_word:
            # write result to STDOUT
            print '%s\t%s' % (current_word, current_count)
        current_count = count
        current_word = word
# do not forget to output the last word if needed!
if current_word == word:
    print '%s\t%s' % (current_word, current_count)
reduce的代码页不复杂,利用Reduce程序,可以得出count数目。如果当前的词和分出来的词一致的话,count相加,如果不一致的话,就打印出来,同时更新输入的word和count。最后的if是打印出最后一次统计结果。 reduce的执行依赖了MapReduce模型一个要点,在Shuffle过程中,同一个key会放到同一个reduce任务中,这样处理的是一系列连续的相同的key值,当key不一样的时候,就是说开始统计下一个word了。 下来我们看看测试结果: 首先为他们增加可执行权限:
chmod +x mapper.py
chmod +x reducer.py
输出结果如下所示:
 下载测试文件:
wget http://www.gutenberg.org/cache/epub/20417/pg20417.txt
wget http://www.gutenberg.org/files/5000/5000-8.txt
wget http://www.gutenberg.org/files/4300/4300-0.txt
下面就是执行Hadoop命令了,在使用Hadoop Streaming时,要使用一定的格式操作才能提交任务: 首先,我们在HDFS中创建子目录MyFirst:
hadoop fs -mkdir  MyFirst    #创建目录
hadoop fs -copyFromLocal *.txt MyFirst  #拷贝文件
hadoop fs -ls MyFirst  #验证拷贝成功
如下图:
 寻找你的streaming的jar文件存放地址,注意2.8的版本放到share目录下了,可以进入hadoop安装目录寻找该文件:
cd /usr/local/hadoop/
find ./ -name "*streaming*"
然后就会找到我们的share文件夹中的hadoop-straming*.jar文件:
/usr/local/hadoop/share/hadoop/tools/lib/hadoop-streaming-2.8.2.jar
接下来提交mapreduce任务:
hadoop jar /usr/local/hadoop/share/hadoop/tools/lib/hadoop-streaming-2.8.2.jar -files ./mapper.py,./reducer.py -mapper ./mapper.py -reducer ./reducer.py -input MyFirst/* -output MyFirst-output
这里提醒下: 1. 一定要把本地的输入文件转移到hdfs系统上面,否则无法识别你的input内容;
-
一定要有权限,一定要在你的hdfs系统下面建立你的个人文件夹否则就会被denied;
-
如果你是第一次在服务器上面玩hadoop,建议在这之前请在自己的虚拟机或者linux系统上面配置好伪分布式然后入门hadoop来的比较不那么头疼,之前我并不知道我在服务器上面运维没有给我运行的权限,后来在自己的虚拟机里面运行一下example实例以及wordcount才找到自己的错误。
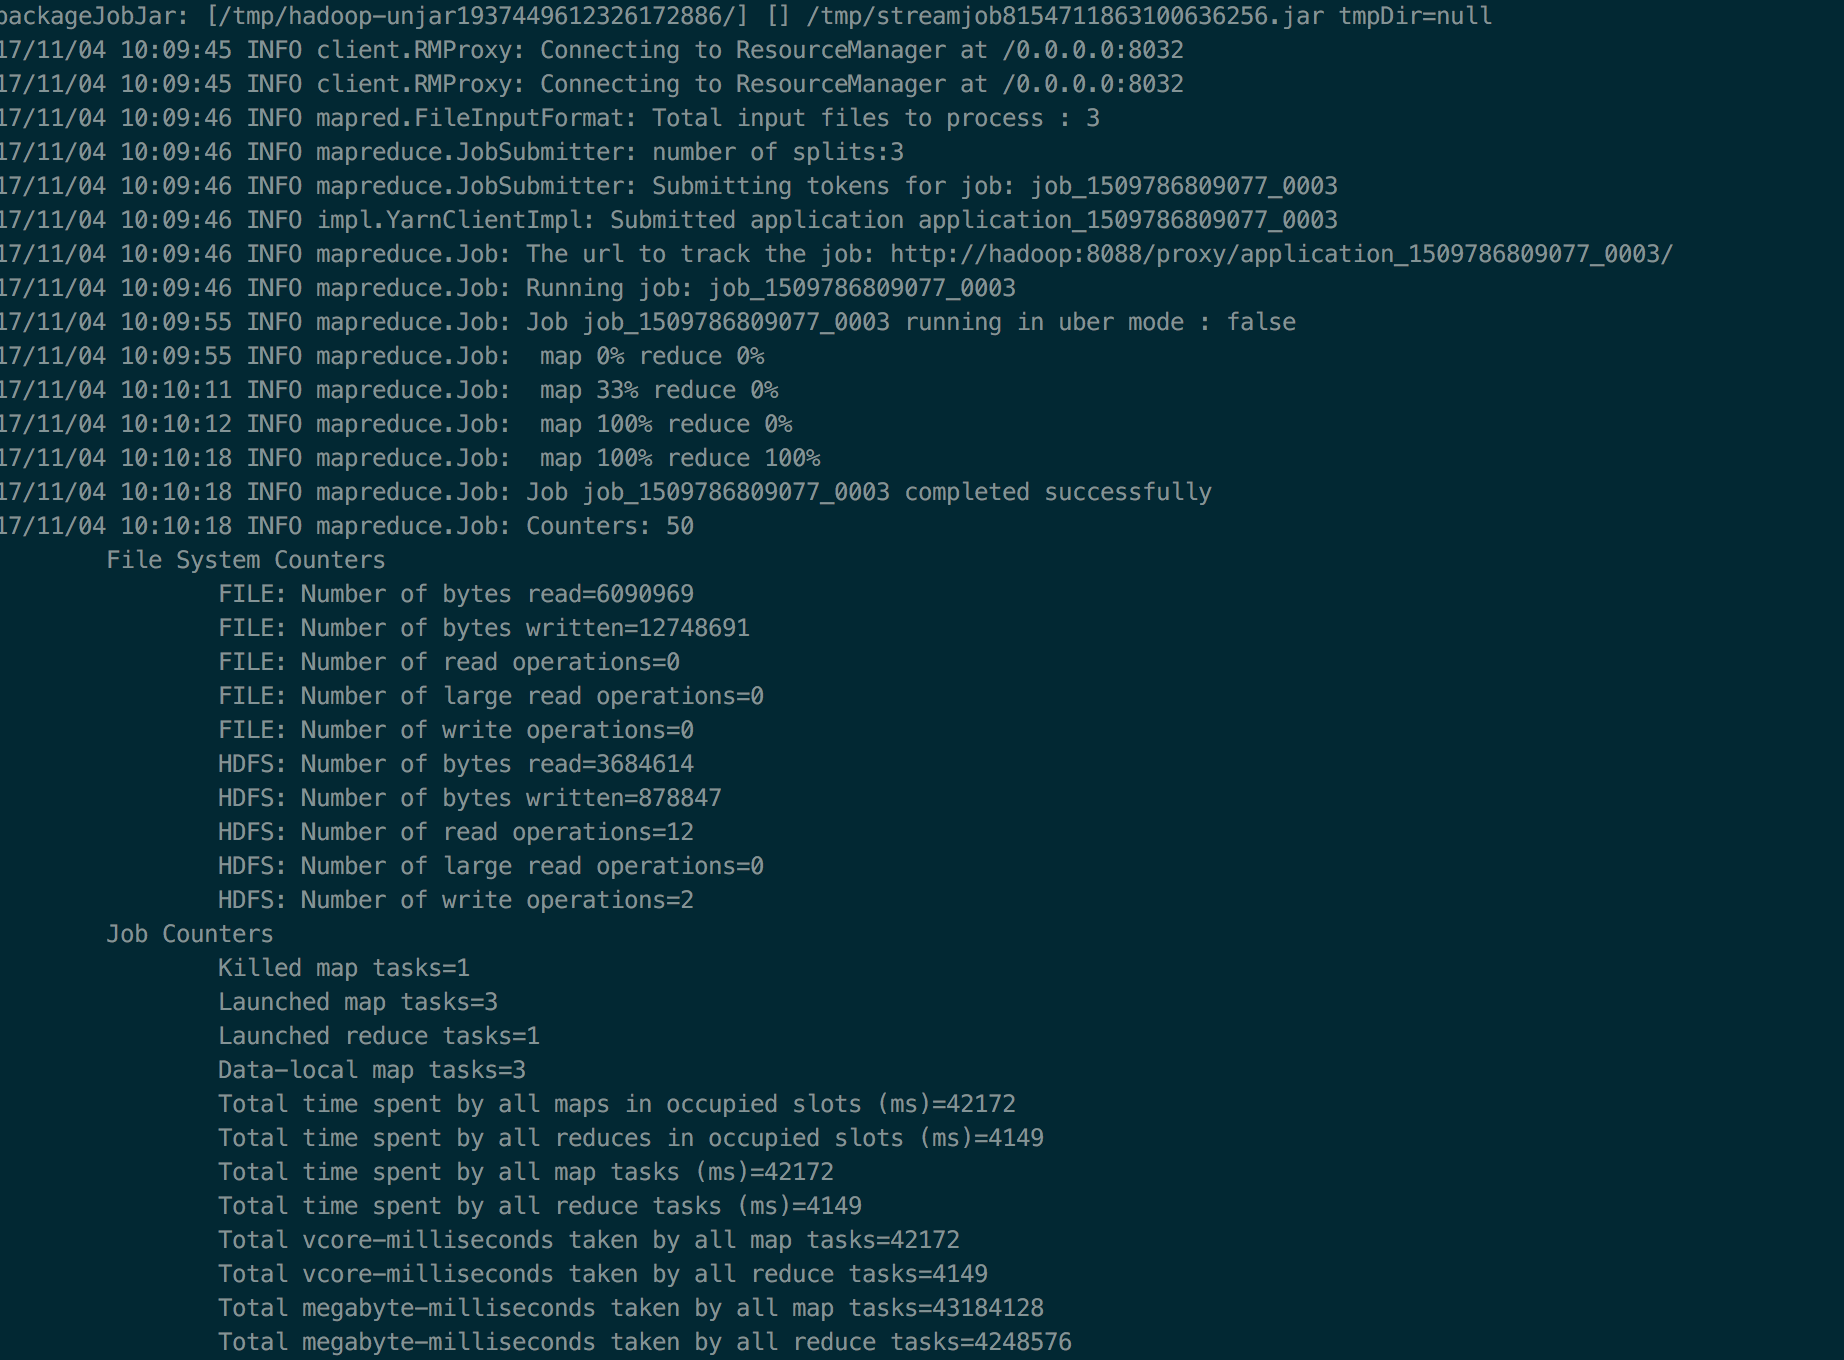
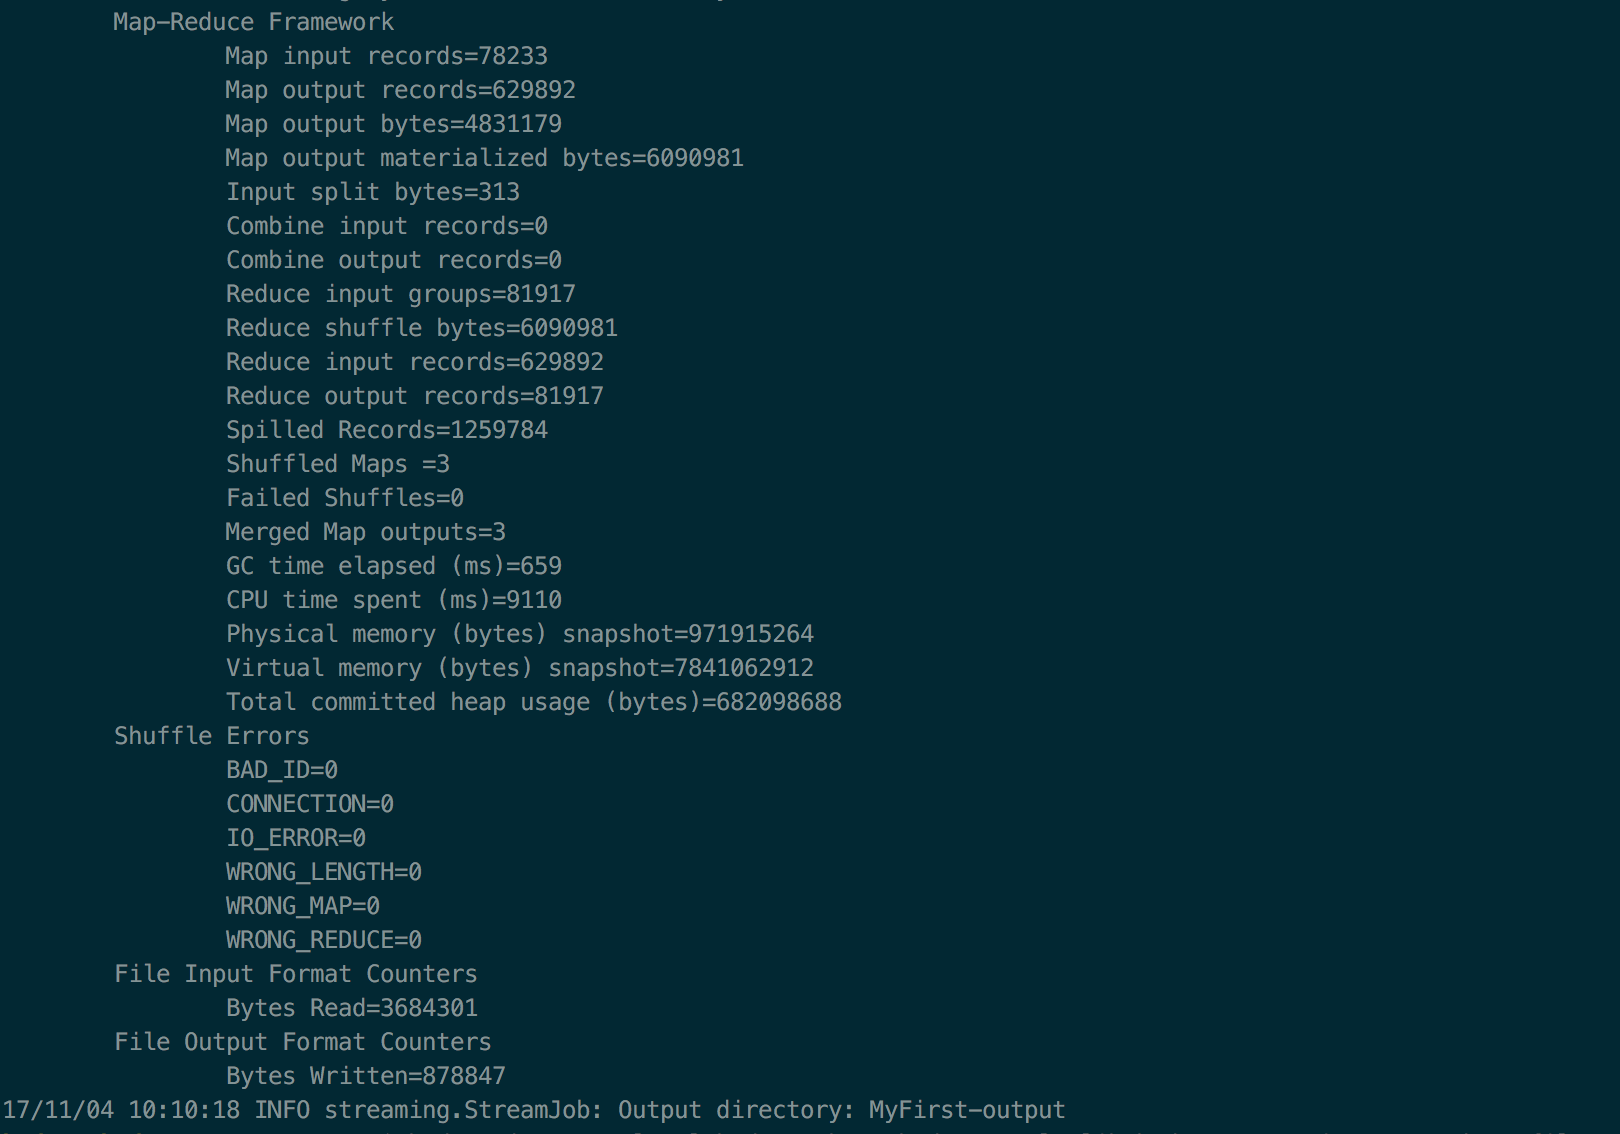
好啦,然后不出意外,就会complete啦,如下图:
 你就可以通过如下方式查看计数结果:
hadoop fs -cat MyFirst-output/* | sort -nk 2 | tail
如下图:

本文由 liangliangyy 原创,转载请注明出处。